


 Who We Are
 Coverage Area
 Donate
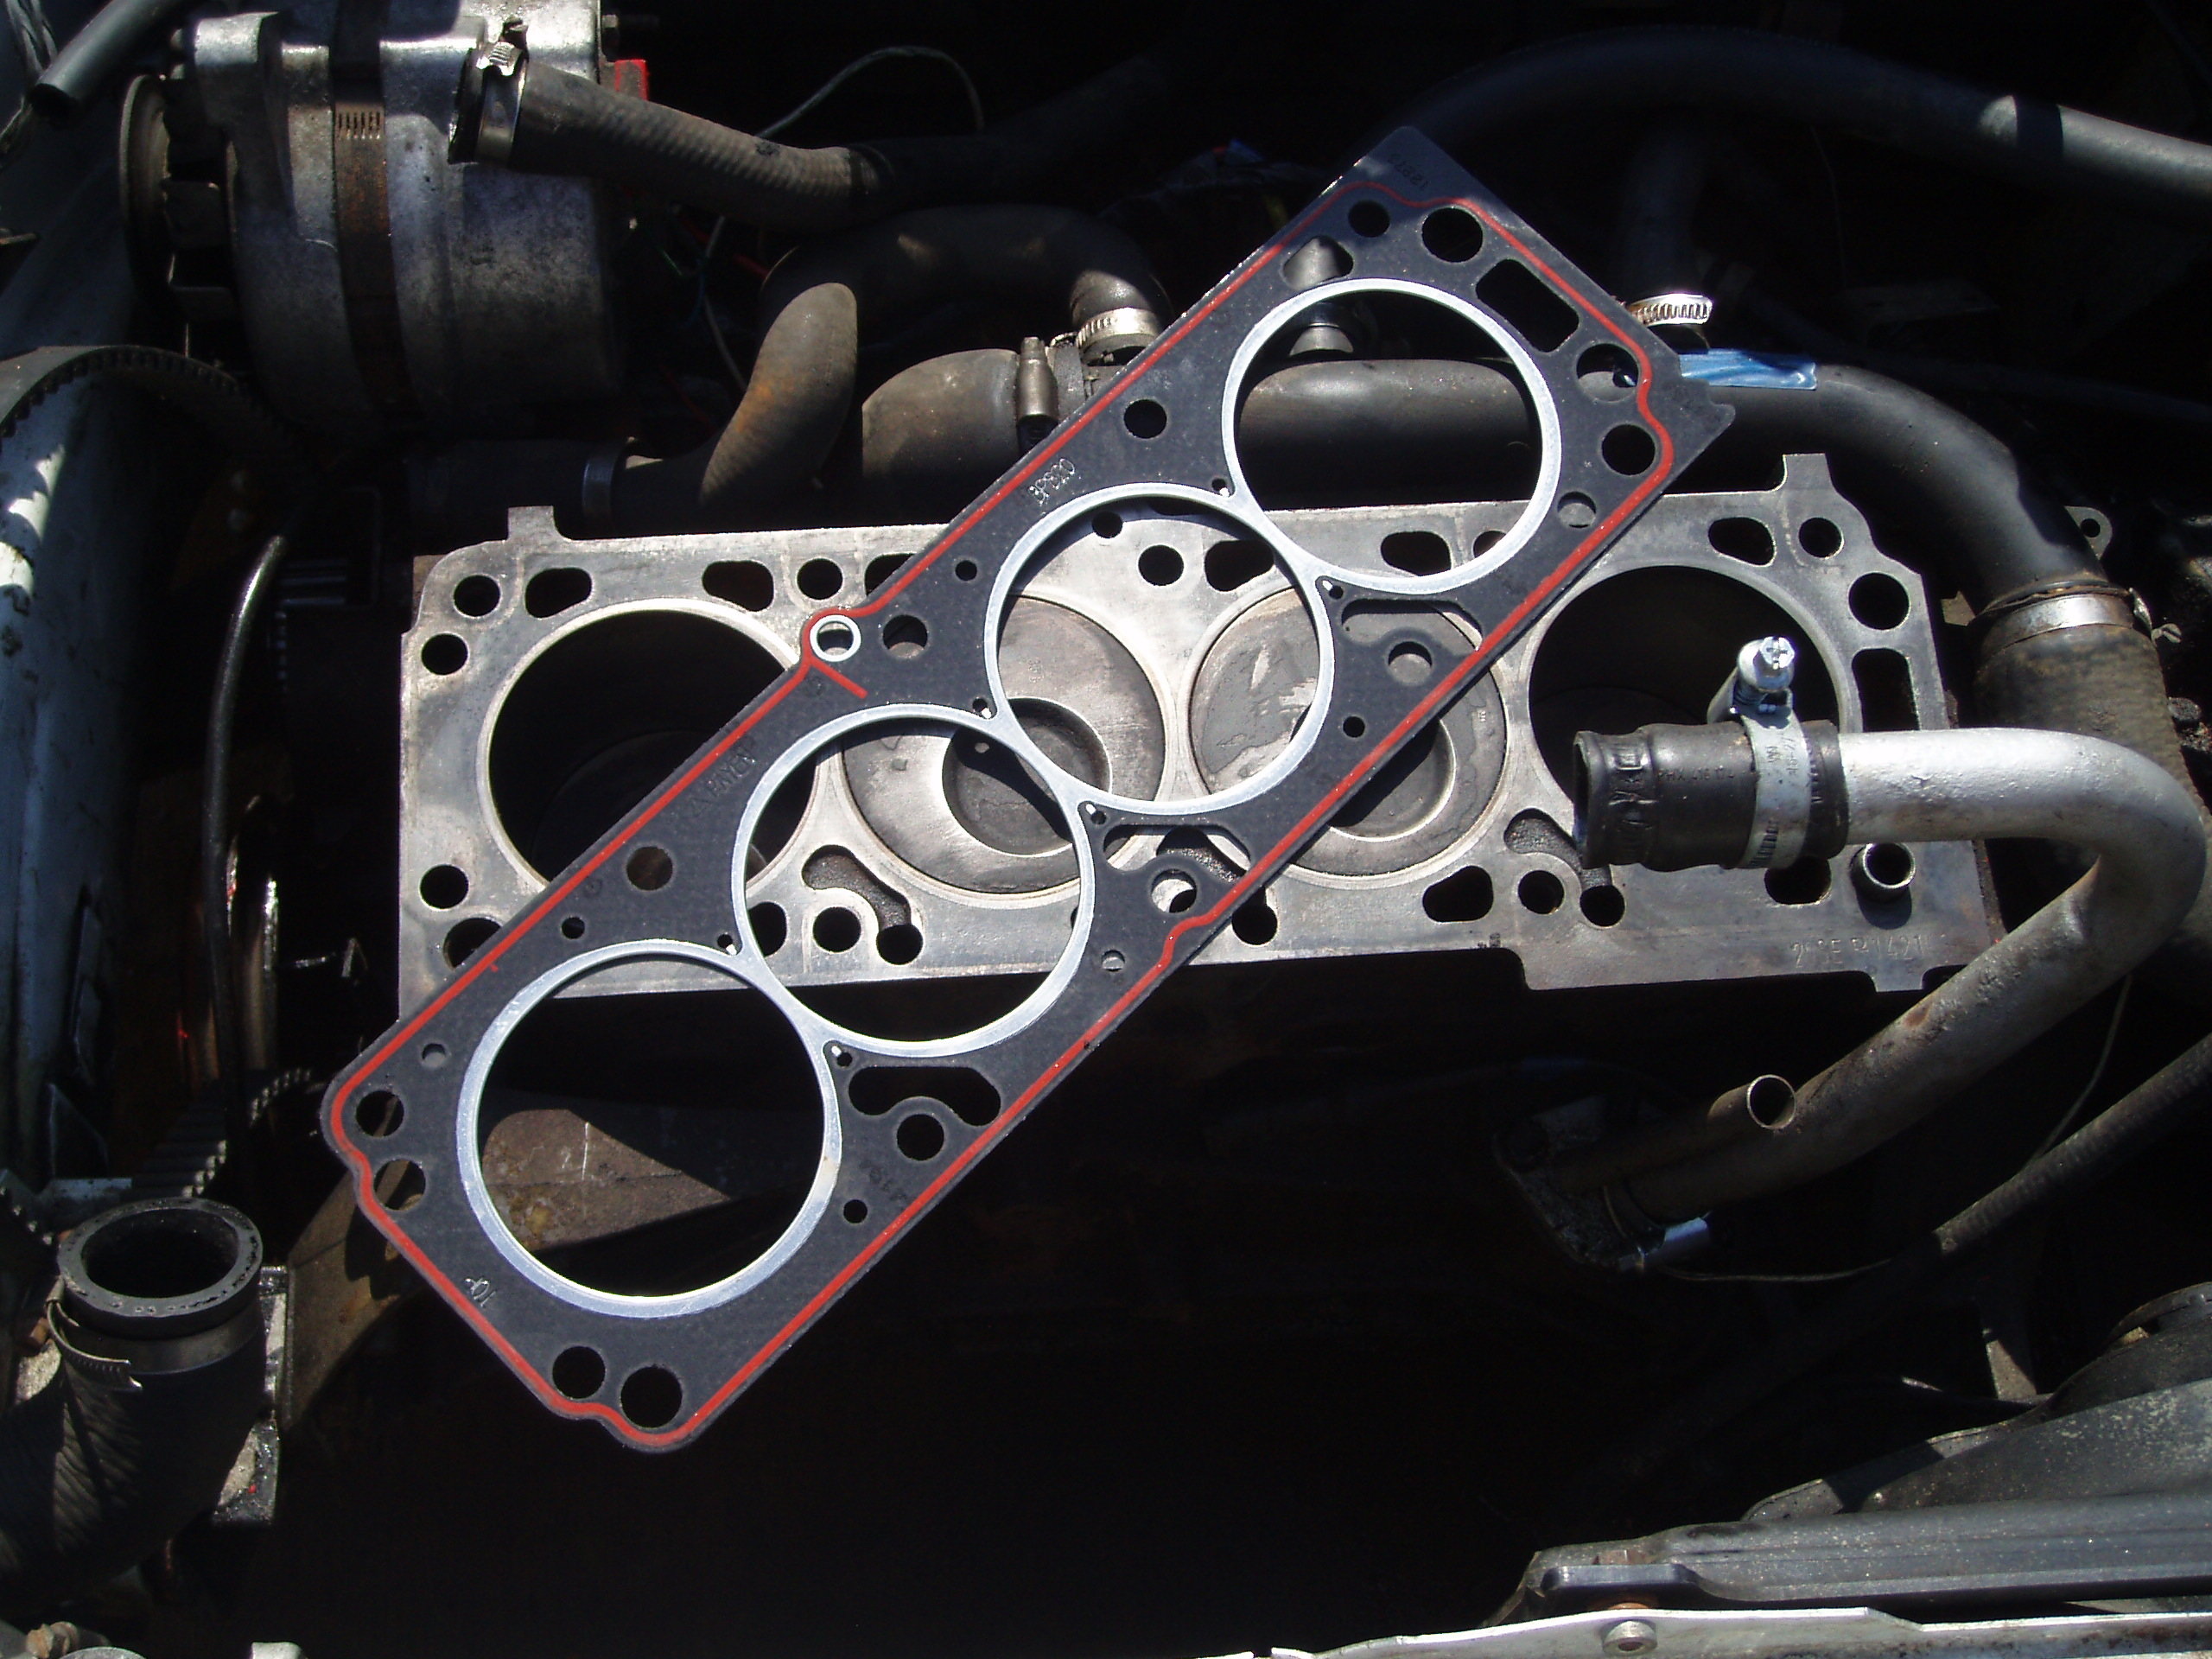
A head gasket doesn’t cost much money but replacing it is quite expensive. Replacing it requires the whole engine to be disassembled. The head gasket sits between the cylinder head and the engine block. It seals the part where combustion takes place and keeps the oil and coolant from mixing. The head gasket can blow off due to overheating.
Overheating makes it expand beyond the allowable limits then burst. Another cause of the head gasket’s failure is engine detonation or pre-ignition. These can occur when out-of-time combustion occurs in the combustion chamber. This action puts an extra strain on the head gasket, the pistons, and the valves.
If you hear your engine knocking or pinging, it could mean detonation or pre-ignition has occurred. Whenever there’s an issue with your head gasket, you’ll need to have it replaced. Below are the six steps you can follow to change your head gasket.
Step #1
As you begin disassembling the engine, ensure you index and mark every engine component before you remove it. Inventorying each piece will save you time when it comes to re-assembling the engine. The service manual of your car can help a great deal in this step.
Step #2
Assess the block and head for flatness. You can use a straight edge and a feeler gauge to detect any indention on the block and head. In this step, you again need your car’s service manual because it has all the specifications that you can use for comparison purposes. Heads or blocks that differ from the specs will need some repair; take them to a machine shop for repairs and also for cracks to get checked.
Step #3
Get the surface prepared. Be careful not remove any metal. Do not scratch the block’s deck or the head’s mounting surface. It’s not advisable to use a scrubber mounted on a power tool as it may create surface irregularities that will result in sealing problems. You can scrub carefully by hand to ensure you get an even surface.
Step #4
Gear up the threads by removing any crud on them. You can use a thread chaser or a tap to chase the stud holes or head bolt. If you notice any stragglers, you can blow them off using compressed air. Ensure everything is clean so you can get precise torque from the head bolt.
Step #5
You can now fit the head gasket, but you have to ensure you get the perfect orientation for it to fit well. Please do not use any sealant, unless the manufacturer explicitly indicates that you can use it. Some head gaskets require sealants, and this will be indicated in their service manuals, which also has the information on the requirements and the locations of the sealant.
Step #6
Once you fit the head gasket, you can now tighten the bolts in the right sequence to ensure the correct torque is attained. If necessary, you can buy new ones. Use engine oil to coat the bolt threads before installing them. Remember to strictly follow the torque instructions and tightening sequence to get the best results.
The process of changing a head gasket requires and expert. You need to contact a qualified and experienced mechanic to do the job.