


 Who We Are
 Coverage Area
 Donate
Have you ever needed to fix something inside your car door, like a faulty window motor or a loose speaker, but didn’t know where to start? Removing car panels can seem like a daunting task, but with the right knowledge, it’s entirely achievable. This comprehensive guide will walk you through the process of how do you remove car panels in 2023, detailing the necessary tools, identifying and removing fasteners, disassembling interior components, and much more.
By the end of this blog post, you’ll have gained the skills required to remove and reinstall car door panels with ease. Not only will this save you time and money, but it will also empower you to tackle various car-related issues on your own. So buckle up and let’s dive into the world of car panel removal!
Short Summary
- Gather necessary tools for car panel removal.
- Identify and remove door panel fasteners, including hidden screws and clips.
- Disconnect wiring and electrical connectors before removing the door panel to avoid damage.
Gathering the Necessary Tools for Car Panel Removal
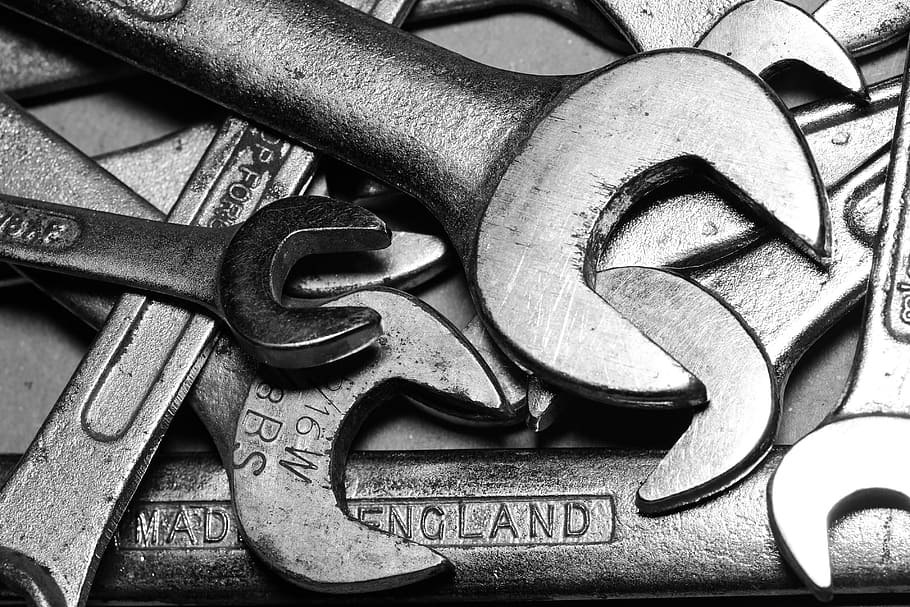
Before you start, it’s essential to gather the proper tools for car panel removal. Using the right tools is critical to avoid damaging delicate parts of the door panels. Some essential tools you’ll need are screwdrivers, socket wrenches, and L picks. Keep in mind that you’ll be dealing with a variety of screws and bolts during this process, so having a diverse set of tools will come in handy.
Once you have your tools ready, it’s time to get to work. Before diving into the removal process, it’s a good idea to store the screws and bolts removed from the interior door panel in a secure location. This will help you avoid losing any small components during the process.
Identifying and Removing Door Panel Fasteners

One of the first steps in car panel removal is identifying and removing door panel fasteners. These fasteners help secure the door panel to the car door frame and include hidden screws, clips, and door panel mounting screws. Understanding how to locate and remove these fasteners is crucial for a successful panel removal.
In the following subsections, we’ll explore the process of locating and removing hidden screws and clips, as well as door panel mounting screws. This knowledge will provide you with the foundation to safely and efficiently remove car door panels.
Hidden Screws and Clips
Hidden screws and clips are typically located behind the door panel, close to the borders of the panel. These fasteners are usually plastic clips and Phillips head screws. To access them, some components like the inner door handle and window switch wiring may need to be removed first.
When removing hidden screws and clips, use a Phillips head or flathead screwdriver to carefully disengage them. If the screws and clips are stuck, you can use a lubricant like WD-40 to loosen them. In case they are damaged or missing, it’s recommended to replace them with new ones.
Door Panel Mounting Screws
Door panel mounting screws, also known as door panel screws, play a vital role in securing the door panel to the door frame. The specific type and size of these screws might vary depending on the make and model of your vehicle. A ratchet and socket or a screwdriver can be used to loosen these screws. Once it has been done, the screws can be removed.
Once the door panel mounting screws are removed, you can proceed with the panel removal process. But don’t forget to keep track of these screws, as you’ll need to reinstall them later on. Remember, properly securing the door panel is essential for the safe and correct functioning of the various components within the door.
Disassembling Interior Components
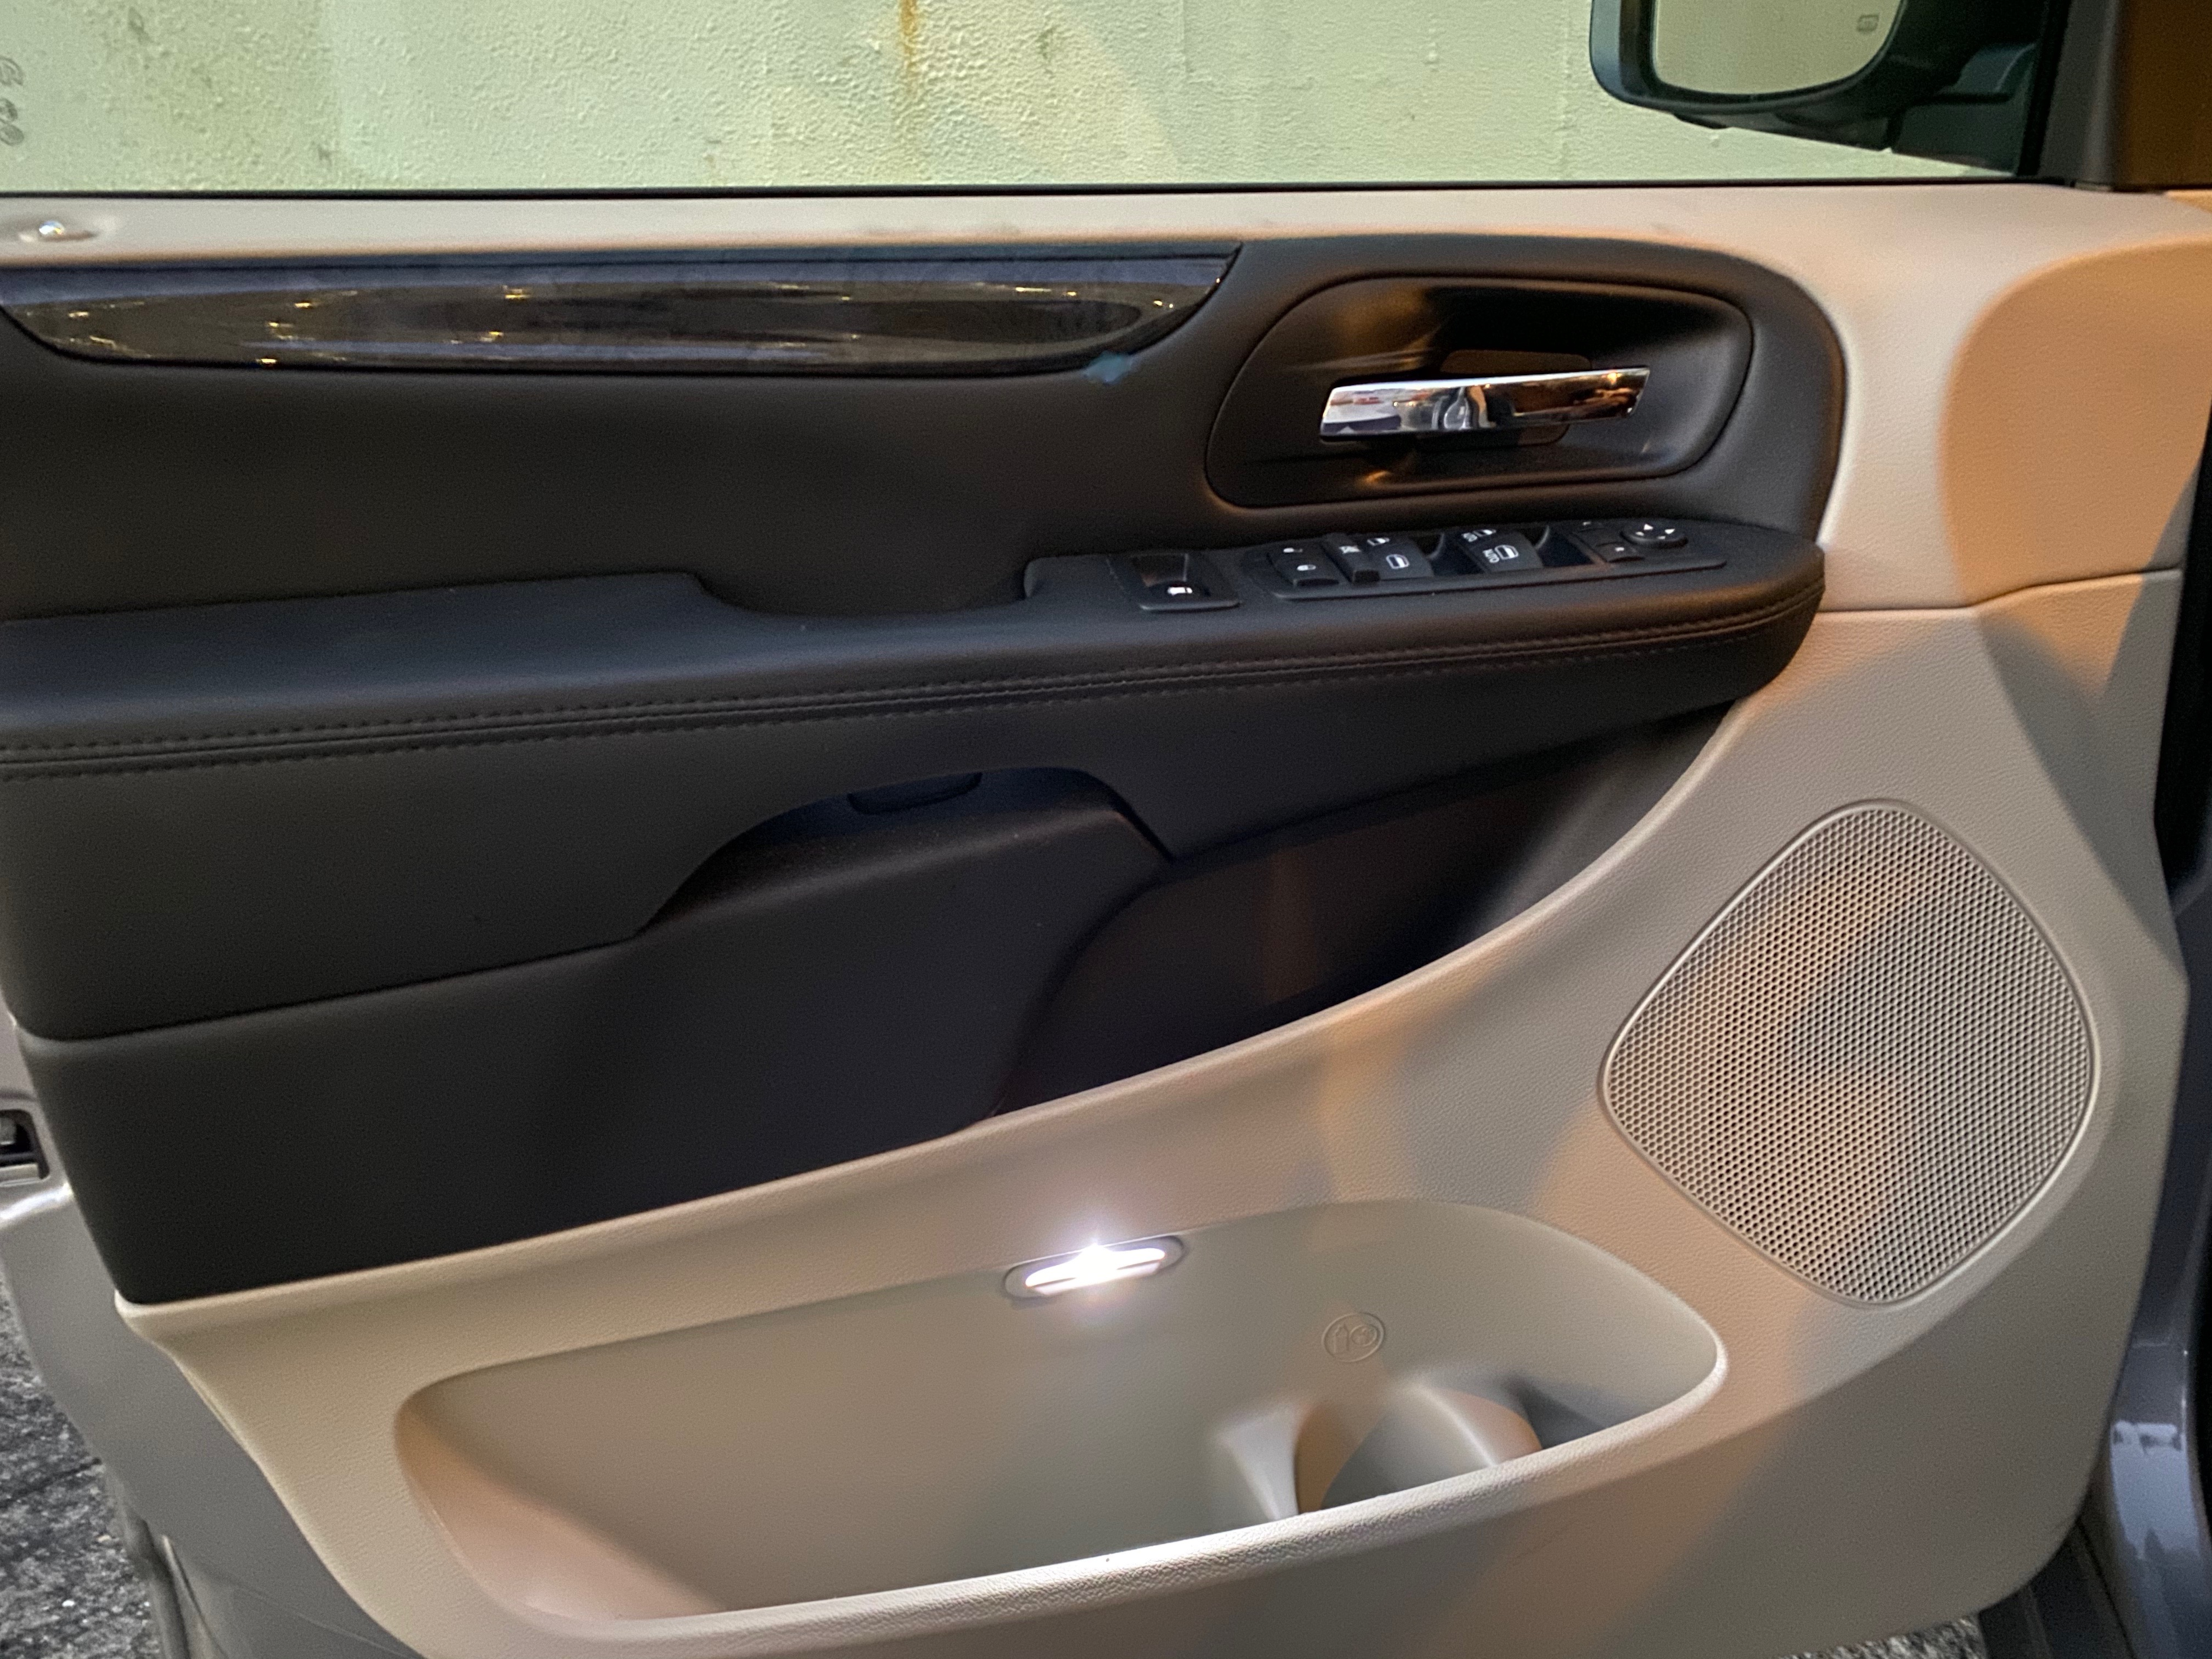
Before you can remove the door panel, some interior components, including arm rests, need to be disassembled. This involves detaching the inner door handle and disconnecting the window switch wiring.
In the following subsections, we will delve into the process of detaching the inner door handle and disconnecting window switch wiring and door light electrical connectors. Mastering these steps will ensure a smooth and successful car panel removal.
Detaching the Inner Door Handle
The inner door handle is an essential component that needs to be detached for panel removal. To do so, locate the screws securing the handle to the door and use a ratchet and socket to disengage them. Gently pull the handle forward. This will disengage it from its socket.
Gently use a small screwdriver to push the switch’s safety release clip, which is the plastic clip, over the handle. This will completely release the handle from the socket. Additionally, remove the push-button lock by unscrewing it from its control rod. This will allow you to access the inner workings of the door panel.
Disconnecting Window Switch Wiring and Door Light Electrical Connectors
Disconnecting the window switch wiring and door light electrical connectors is another crucial step before removing the door panel. To disconnect the window switch wiring, press the safety release clip on the switch to release the connector. For the door light electrical connectors, gently wiggle the plug and carefully pull it off.
Once you’ve disconnected the window switch wiring and door light electrical connectors, you can proceed with removing the door panel. Always remember to exercise caution during this process to avoid damaging any delicate components.
Removing the Door Panel
Now that you have identified and removed all fasteners and disassembled the necessary interior components, you’re ready to remove the door panel. This process involves releasing plastic clips and trim panels, as well as lifting and removing the door panel itself.
In the following subsections, we’ll explore the techniques for releasing plastic clips and trim panels, and lifting and removing the door panel. These steps will guide you through the door panel removal process, ensuring a successful and damage-free experience.
Releasing Plastic Clips and Trim Panels
Plastic clips and trim panels secure various panels and trim pieces in place, and they need to be released for door panel removal. To release these clips and panels, use a flathead screwdriver or a trim removal tool to gently pry them away from the surface. Be cautious during this process to avoid damaging the clip or panel.
If the plastic clips or trim panels are damaged during removal, it’s essential to replace them with new ones. This will ensure your door panel is securely attached and functions correctly when reinstalled.
Lifting and Removing the Door Panel
Once you have released the plastic clips and trim panels, you can proceed with lifting and removing the door panel. To do this, gently lift the door panel off the door. Make sure to handle the door panel with care to avoid any damages.
After the door panel is removed, set it aside from your working space. This will allow you to access the inner components of the door, make necessary repairs or replacements, and prepare for the reinstallation process.
Reinstalling the Door Panel
Once you have completed your repairs or replacements, it’s time to reinstall the door panel. This process involves reconnecting the window switch wiring and door light electrical connectors, and securing the door panel with fasteners.
In the following subsections, we will detail the steps for reconnecting the wiring and electrical connectors and securing the door panel with fasteners. These guidelines will ensure a seamless and efficient reinstallation process.
Reconnecting Window Switch Wiring and Door Light Electrical Connectors
To reconnect the window switch wiring and door light electrical connectors, first identify the wiring and connectors. Carefully reconnect them, ensuring a secure connection. After reconnecting the wiring and connectors, it’s essential to test their functionality by activating the car’s ignition, pressing the window switch, and opening the door to verify the door lights turn on.
By ensuring the proper functionality of the window switch and door lights, you can guarantee a successful reinstallation process and a fully functioning car door panel.
Securing the Door Panel with Fasteners
Securing the door panel with fasteners is the final step in the reinstallation process. To do this, insert the fasteners into their respective holes and tighten them. It’s crucial to ensure that the door panel is securely fastened for the safe and correct functioning of the various components within the door.
If you encounter any issues during this step, such as stuck or compromised clips or broken trim panels, refer back to the troubleshooting section for guidance on addressing these problems. With the door panel securely fastened, your car door panel removal and reinstallation process is complete.
Troubleshooting Common Issues
While car panel removal and reinstallation can be a straightforward process, you may encounter some common issues along the way. These issues can include dealing with stuck or damaged clips and replacing broken trim panels.
In the following subsections, we’ll provide guidance on how to handle these issues, ensuring a smooth and successful car panel removal and reinstallation experience.
Dealing with Stuck or Damaged Clips
Stuck or damaged clips can pose a challenge during car panel removal. To deal with these issues, use a flathead screwdriver to gently pry the clip away from the panel. If the clip is too damaged to be removed, it may be necessary to replace it with a new one.
By addressing stuck or damaged clips, you can ensure a successful car panel removal and reinstallation process, as well as maintain the integrity of your door panel and its components.
Replacing Broken Trim Panels
Broken trim panels can impact the appearance and functionality of your car door panel. To replace a broken trim panel, first remove it by prying it away from the door frame using a flathead screwdriver or trim panel removal tool.
Next, install a new panel of the same size and shape, securing it with screws or clips. By replacing broken trim panels, you can ensure a seamless reinstallation process and maintain the aesthetic and functional integrity of your car door panel.
Summary
In conclusion, car panel removal and reinstallation is an invaluable skill for any car owner. By following the steps outlined in this blog post, you can tackle various car-related issues with confidence and ease. From gathering the necessary tools to identifying and removing fasteners, disassembling interior components, and troubleshooting common issues, this guide has provided you with the knowledge required for a successful car panel removal experience.
So, the next time you encounter an issue within your car door, remember that you have the power to resolve it yourself. With the right tools, knowledge, and patience, there’s no car panel removal challenge you can’t overcome.
Frequently Asked Questions
What are the essential tools needed for car panel removal?
For car panel removal, essential tools include screwdrivers, socket wrenches, and L picks.
How can I locate hidden screws and clips on my car door panel?
Start by looking for any screws or clips near the edges of the door panel. They are likely to be hidden behind the door panel.
What is the process for removing door panel mounting screws?
Unscrew the door panel mounting screws using either a ratchet and socket or a screwdriver.
Make sure to keep track of the screws as you remove them.
How do I disconnect window switch wiring and door light electrical connectors?
Press the safety release clip on the switch to disconnect the wiring, and gently wiggle and carefully pull off the door light connectors.
What should I do if I encounter stuck or damaged clips during car panel removal?
If you encounter stuck or damaged clips during car panel removal, use a flathead screwdriver to gently pry them away, or replace them with new ones if necessary.