


 Who We Are
 Coverage Area
 Donate
Are you planning to tackle the removal of car panels, but aren’t sure how do you remove car panels or where to start? This guide cuts through the confusion, giving you a step-by-step process to remove them safely and efficiently. From gathering the right tools to detailing the removal of fasteners and handling wiring, we’ll give you the clarity needed to perform the task with confidence, without overwhelming you with technical jargon.
Key Takeaways
- Gear up with gloves and prepare your workspace before you start. Collect all necessary tools, including trim removal tools, screwdrivers, and pry tools.
- Carefully remove all fasteners, disconnect wiring, and use the right amount of pressure with pry tools to avoid breaking clips when detaching the door panel.
- After panel removal, you can proceed with repairs or replacements, but remember during reassembly to align properly, reconnect components, and test functionality.
Gearing Up for Door Panel Removal
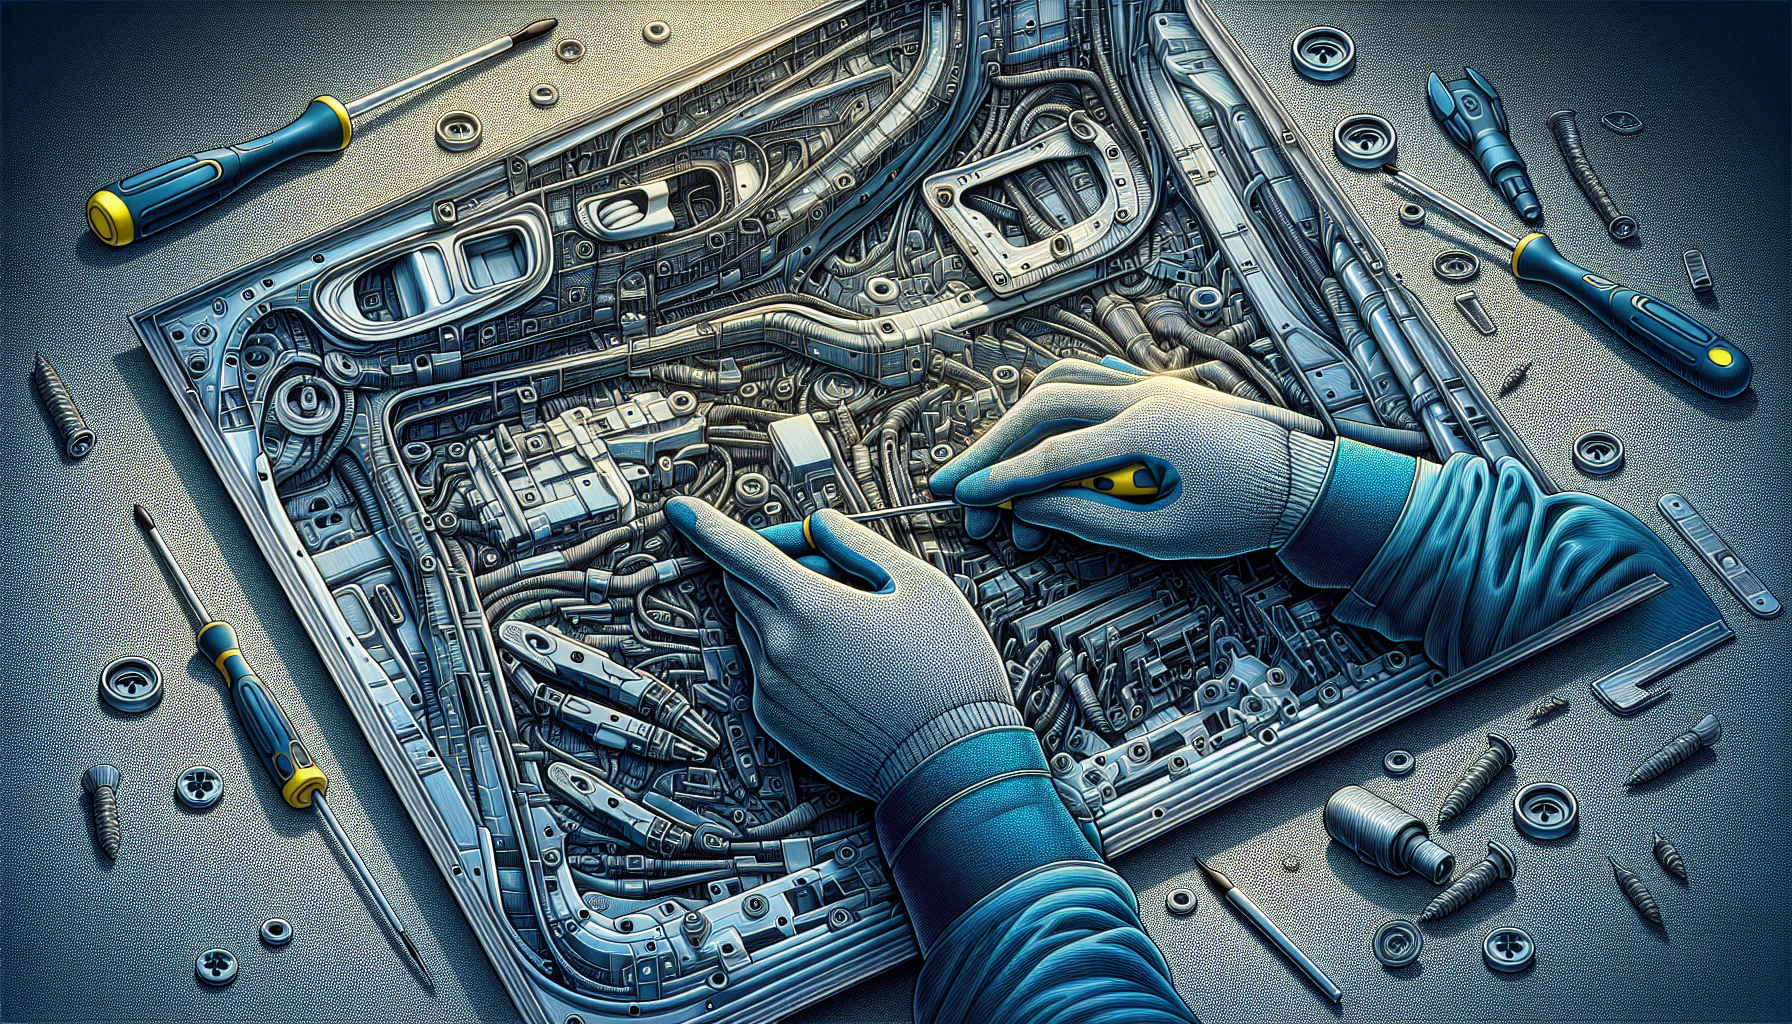
Before diving into the process of removing your door panel, it’s crucial to follow some general steps to ensure safety and cleanliness. First, gear up properly by slipping on a pair of mechanic-style gloves to protect your hands from scrapes and cuts, and to keep the door panel clean during the removal process. Next, prepare your workspace by ensuring you have a clean, well-lit area with plenty of room to work.
Now that you’re all set, let’s gather the tools you’ll need for the job. Because as we all know, a craftsman is only as good as his tools.
Essential Tools You’ll Need
The right tools can make the difference between a smooth, hassle-free door panel removal and one that’s fraught with difficulty. Specialized trim removal tools, for instance, are designed for this very task. They can be found in auto parts stores or ordered online. To protect your door and trim pieces from scratches or damage during removal, consider using soft plastic interior trim removal kits.
But those aren’t the only tools you’ll need. Door panel removal tools are essential for detaching door clips and push-pins efficiently. You’ll also need common hand tools such as screwdrivers, sockets, ratchets, star bits, picks, and wrenches. With these tools at your disposal, you’re ready to tackle that door panel.
Locating and Removing Fasteners
Now that we’re geared up and ready to go, it’s time to locate and remove the fasteners holding the door panel in place. Door panels are typically attached to the door frame using a combination of screws, bolts, and clips. Some of these may be hidden under trim pieces or within the door panel itself. So, one of the first steps is to remove visible screws and bolts, and then proceed to uncover and remove any hidden ones, such as those under the door latch or within the control panel.
But removing fasteners isn’t just about unscrewing and prying. It’s also about being cautious. For instance, you’ll need to disconnect any wiring connected to the door panel, such as the wiring for the window controls, to prevent damage. To help you with this, we’ll delve into identifying screws and bolts, and handling plastic clips and metal fasteners.
Identifying Screws and Bolts
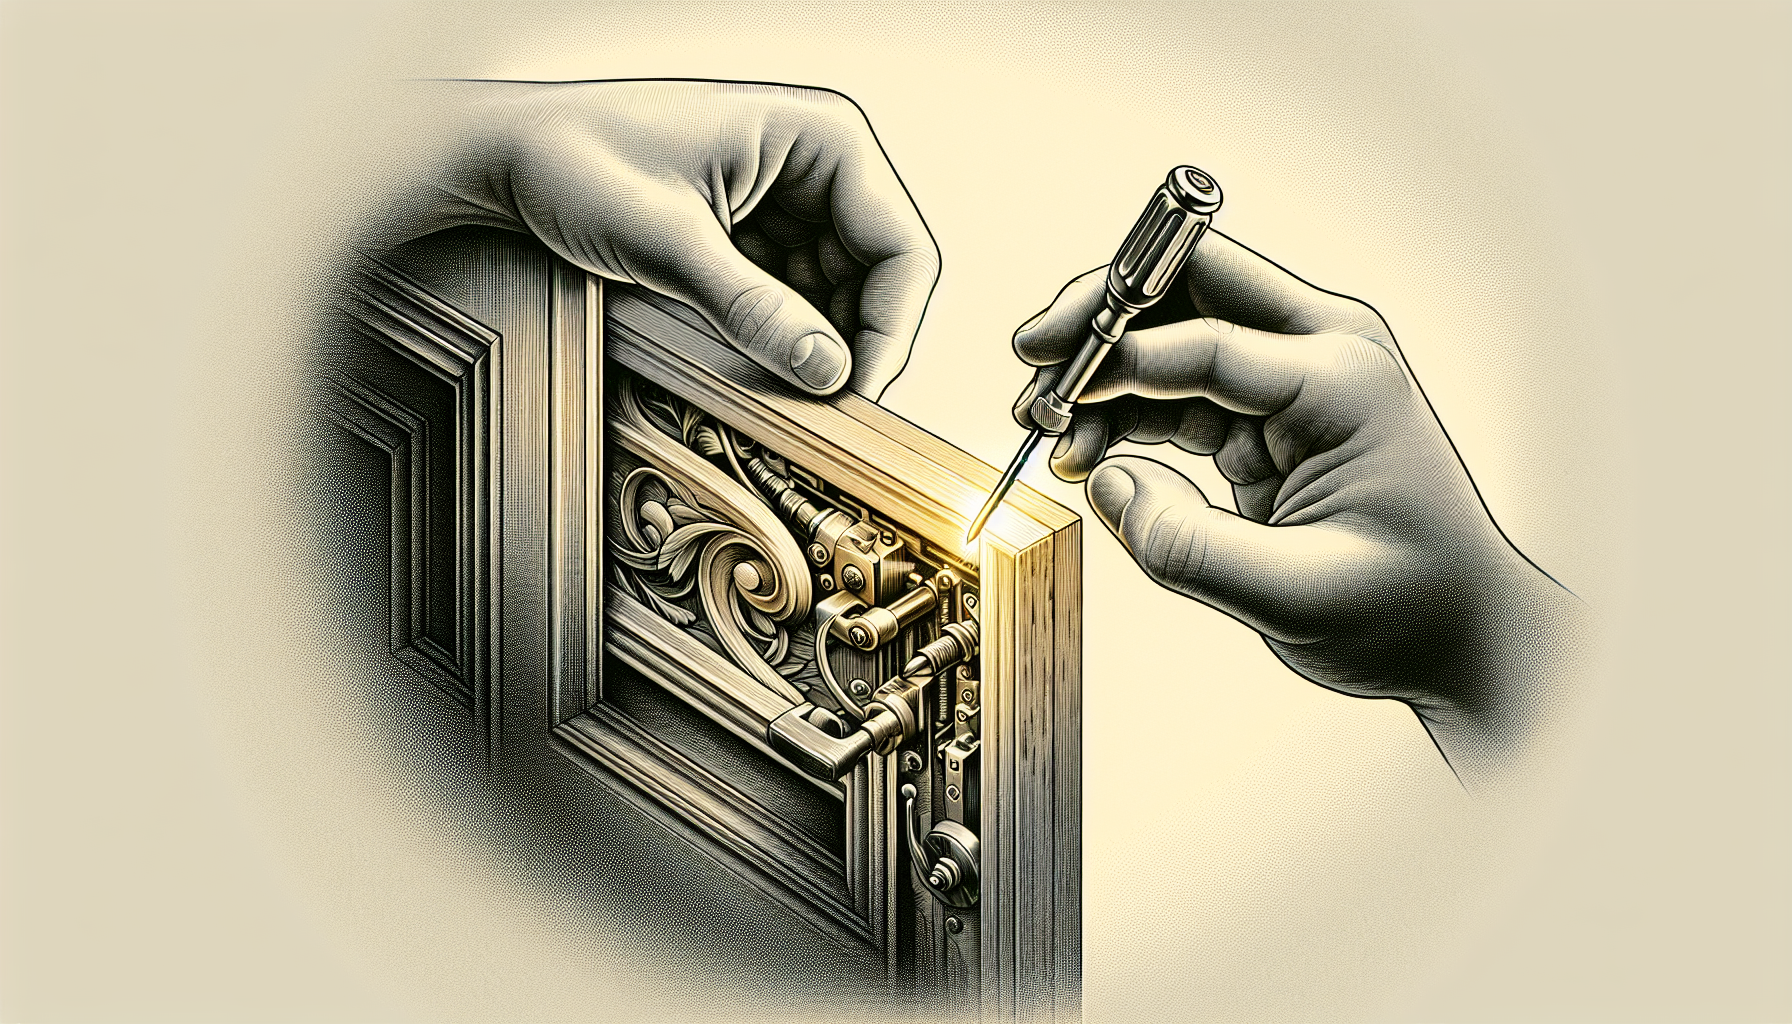
Before you start unscrewing, you need to know where to look. The door panel mounting screws may be hiding under small covers in the door handles and along the door panel edges. You can use small picks to pry out these parts, revealing the screws beneath. And don’t forget to gently pry up the lower edge of the door’s control panel that operates the windows and locks. This often conceals additional screws.
Once you’ve found the screws holding the bolts, it’s time to remove them using a flathead screwdriver. Remember, slow and steady wins the race. Be patient and careful to avoid stripping the screws. A stripped screw can turn a simple job into a frustrating ordeal.
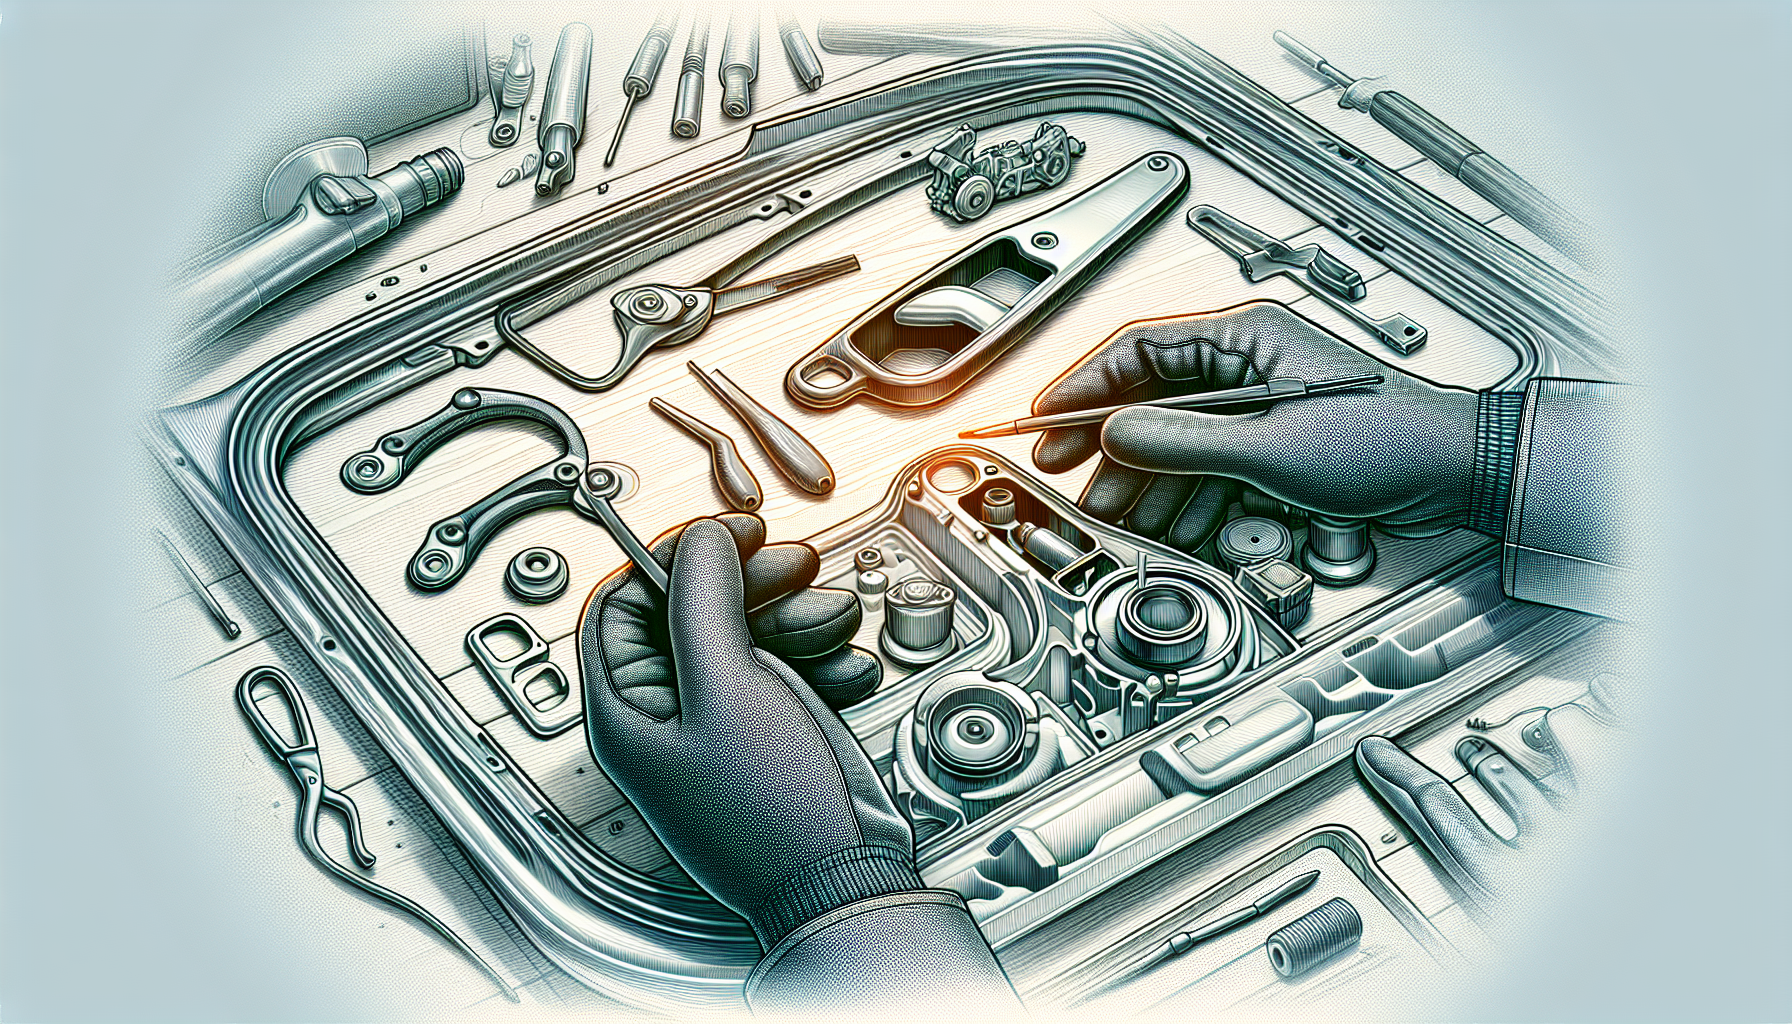
Handling Plastic Clips and Metal Fasteners
Dealing with plastic clips and metal fasteners requires a delicate touch. These small parts may seem insignificant, but they play a vital role in holding the door panel in place. Plastic clips, in particular, can be tricky to deal with. They should not be pulled too hard during removal as they are prone to breaking. Instead, gently pry around them to loosen them. For this task, specialized pry tools are your best friend.
On the other hand, metal fasteners are more durable than plastic clips but may require special attention to visually locate and align them with the holes in the door frame when reassembling. Always remember to pull the door panel straight out with a swift motion to allow the plastic clips to release properly without pulling at an angle. And of course, be gentle when using pry tools at the lower edge, sides, and top of the control panel to disconnect the clips without causing harm.
Detaching the Door Panel from the Frame
After successfully dealing with screws, bolts, clips, and fasteners, you’re ready for the main event: detaching the door panel from the frame. This isn’t a one-size-fits-all process. Different door panels have different fastening mechanisms. Some require lifting up while others need prying off. The pins could be pressing into the door or they could be metal slide pins.
Sometimes, the entire inner plate needs to be removed, which might include:
- first removing the door glass
- detaching the seat if it obstructs the panel (for rear door panels)
- taking a coordinated approach from both inside and outside to open a door that won’t open without damaging the door panel.
Gently Pry and Lift the Panel
Now, let’s get down to the nitty-gritty of prying and lifting the door panel. Here’s how to do it:
- Start from the bottom, using your trim removal tools to pry the door panel away from the frame.
- Gently work the trim removal tool around the edges of the door panel to create a gap.
- This is where the gloves come in handy. They not only protect your hands but also give you a better grip as you work your way around the panel.
Prying the door panel is like opening a can of soda. You need to be careful to release the clips securing the door panel without causing damage to them. Too much force and you might end up with a mess. But with the right amount of pressure and the correct angle, the panel will pop off smoothly.
Disconnecting Cables and Wires
Disconnecting cables and wires is a critical step in door panel removal. Before you remove the entire door panel, you’ll need to disconnect any wiring harnesses or cables connected to components like the window switch and door handle to avoid damage.
After removing the door panel, unplug any attached plugs by wiggling them gently as you pull them off. Make sure to press the tabs on electrical connectors before gently pulling them apart. Be meticulous and patient in this process. Rushing it could lead to broken connectors, which would mean more work (and expense) for you.
Managing Components Attached to the Door Panel
With the door panel detached, we now turn our attention to the components attached to it. These might include:
- The control panel
- The door latch
- Trim pieces
- Speakers
These visible handles and parts need to be detached before the entirety of the door panel is removed.
Each component needs to be handled with care. When detaching them, pay attention not to harm any connecting parts. And if a door doesn’t open, you might have to remove adjacent seats to gain sufficient access to the door panel for removal.
Dealing with the Window Crank
If your car has manual windows, you’ll need to deal with the window crank. Behind the handle, there’s a small clip wire that secures it to the door panel. To remove it, you’ll need specialized tools like a metal pick tool or a specific window crank removal tool.
Using the metal pick tool or the window crank removal tool, you can dislodge the clip wire to remove the manual window crank from the door panel. It’s a simple but crucial step that can make removing the door panel a whole lot easier.
Detaching the Door Handle and Latch Mechanism
Next up is the door handle and latch mechanism. To access the fastening screw of the latch, the latch needs to be opened. Once the fastening screw is exposed, use a screwdriver to remove it. Then, use pliers to gently detach the latch from the panel, being careful not to damage the connecting clips.
In some cases, if a door is stuck and won’t open, you might need to refer to a vehicle-specific body manual for instructions on accessing and moving the latch mechanism to facilitate panel removal through the back door. This is yet another reason why having the right tools and resources at your disposal is so important.
Overcoming Common Hurdles in Panel Removal
Even with the best preparation, you might encounter some hurdles during the panel removal process. Don’t worry; it’s all part of the DIY journey. If you face resistance while removing a panel, gently tapping on the backside can aid in releasing the panel without inflicting harm.
In this section, we’ll address common issues encountered during panel removal and provide solutions to keep your DIY project on track. We’ll explain what to do if a clip breaks and share strategies for dealing with stubborn panels.
What to Do If a Clip Breaks
If a door panel clip breaks, don’t panic. This is a common occurrence and there are ways to fix it. You can find replacement door panel clips for door panels through online sources, often listed with part numbers specific to particular vehicle models.
But what if you’d rather repair the clip? You can do that too. A repair can be made with a suitable adhesive or by obtaining and installing a matching replacement clip. If you choose to repair the clip, be sure to have the necessary tools at hand, including a panel clip removal tool and a set of replacement clips.
Strategies for Stubborn Panels
Some door panels are more stubborn than others. If your door panel refuses to budge, apply penetrating oil to stuck areas or use a rubber mallet to gently tap around the panel edges. This can effectively loosen a stubborn car door panel.
If the panel still seems stuck, a sharp pull upwards after removing screws and other necessary parts may help dislodge the panel from its clips. And in cases where the car door won’t open, you may need to take additional measures, such as:
- removing the seat to gain better access
- using a slim jim or other tool to unlock the door from the outside
- calling a professional locksmith for assistance
Reassembling After Repairs or Replacement
With the door panel removed, you can proceed with your repair or replacement. But once that’s done, you’ll need to reassemble the door panel. This involves positioning the top of the door panel into the window slot, aligning it with the lock hole, before connecting the bottom to adjust the lock placement.
But reassembly doesn’t end with simply attaching the door panel back to the frame. You’ll also need to reconnect the vehicle’s battery and test the functionality of the window switches, door locks, and handles to ensure they are working correctly.
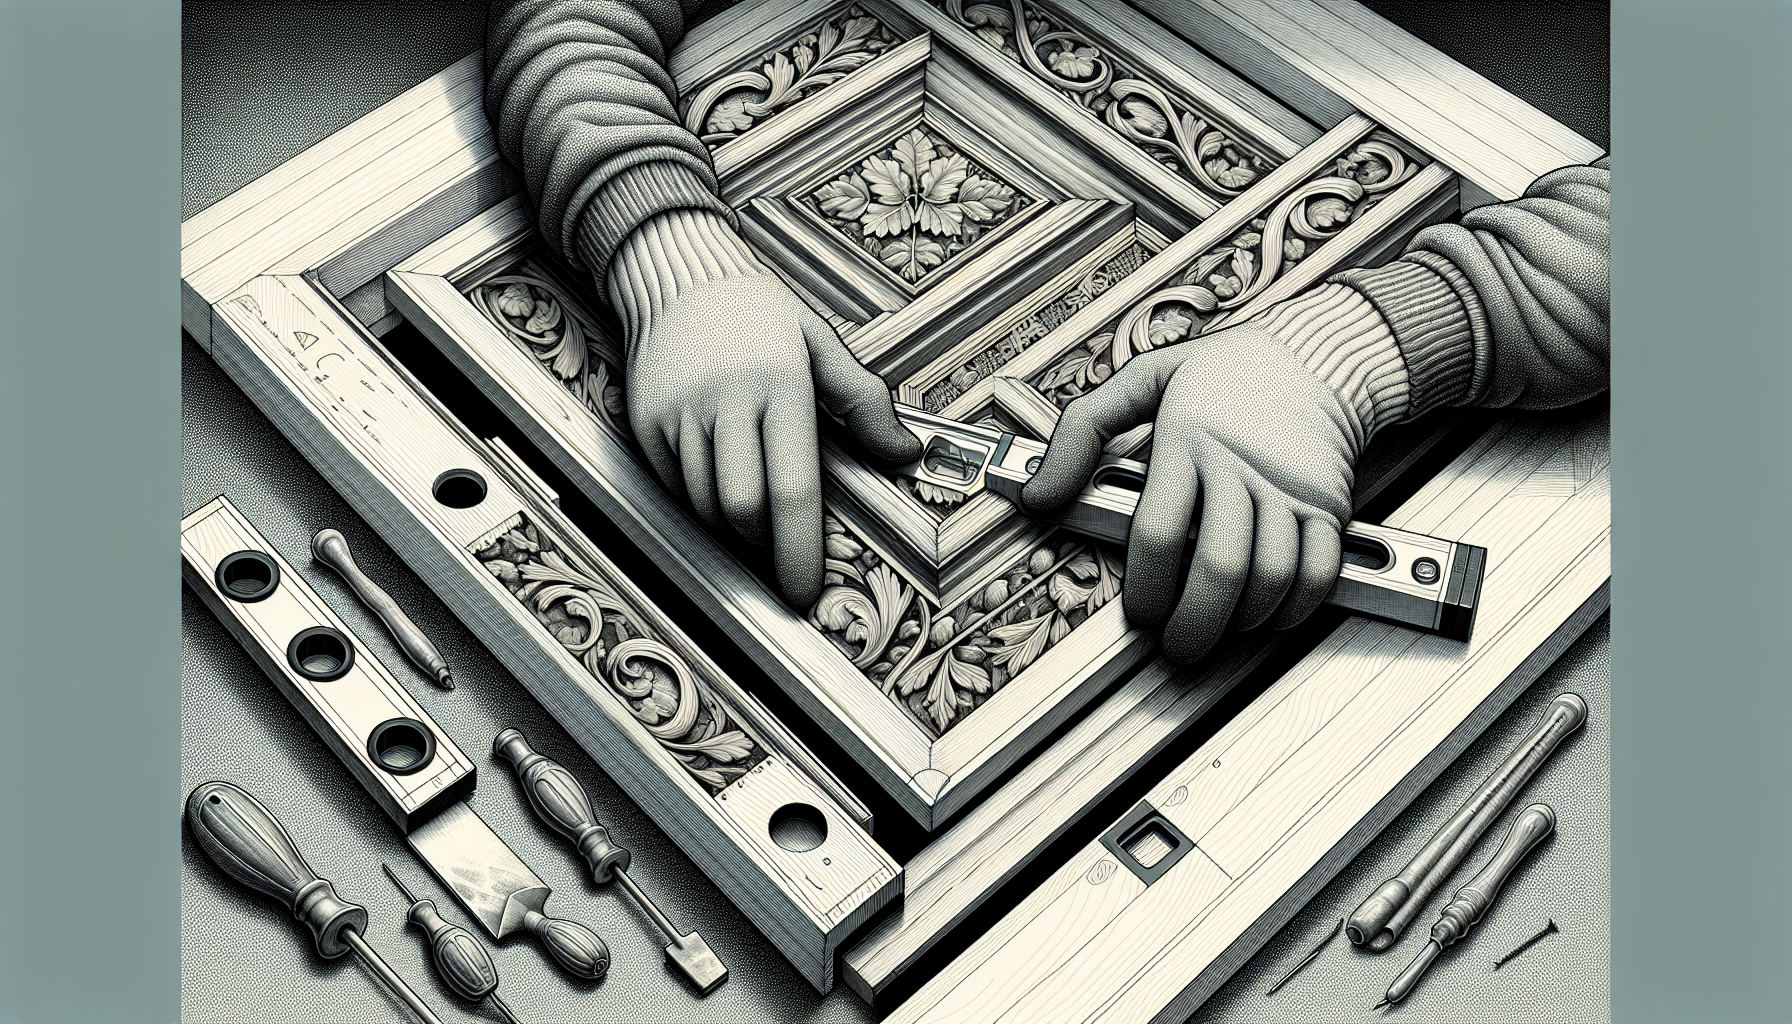
Aligning and Attaching the Door Panel
Aligning and attaching the door panel back onto the frame is a meticulous process that involves specific attachment methods. Begin by inserting the top edge of the door panel into the window slot, taking care not to fully secure it to allow room for adjustments.
Make sure that the door panel is correctly aligned with the lock mechanism during positioning. Once the door panel is positioned and aligned, press it securely against the door frame to engage the mounting hooks or clips properly.
Reconnecting Components and Ensuring Functionality
Reconnecting electrical connectors is an essential step in the reassembly of the door panel. These connectors link components such as window switches, door locks, and speakers to the car’s electrical system.
After the installation, it’s crucial to test all reconnected electrical components to confirm they operate correctly. Remember, a successful DIY project isn’t just about taking things apart and putting them back together; it’s also about ensuring that everything works as it should.
Summary
From gearing up to reassembling and everything in between, we’ve walked you through the process of safely and easily removing car door panels. We’ve covered the tools you need, the steps to follow, and the challenges you might face along the way. Remember, patience and careful preparation are key to a successful DIY project. So, the next time your car needs a door panel repair or replacement, why not roll up your sleeves and do it yourself? You might be surprised at what you can achieve.
Frequently Asked Questions
How do you remove car interior panels?
Use plastic panel tools including a pull-type remover, a narrow-edge remover, a wide-edge remover, a handle remover, and an upholstery clip remover to separate the door panel from the clips, then lift the panel up and out.
How are car panels attached?
Car panels are usually attached using fasteners such as mounting bolts secured with nuts or plastic clips and adhesives that connect the interior panel to the exterior door. This creates a complete and secure attachment for the vehicle.
What are the panels on a car called?
The panels on a car are called auto body panels, which are the large steel sections that provide a covering for the vehicle’s parts and protect the passengers during collisions. They include outer body panels like doors, hoods, deck lids, and roof, as well as inner body panels like wheelhouses and rear floors.
What tools do I need to remove the door panel?
You’ll need specialized trim removal tools, screwdrivers, sockets, ratchets, star bits, picks, and wrenches, along with a metal pick tool or a window crank removal tool if your car has manual windows. Make sure you have these tools handy before starting the job.
How do I deal with broken clips?
To deal with broken clips, you can either repair it with adhesive or replace it with a matching clip. It’s up to you to choose which option works best for you.
For more information, visit https://www.carmula.com/